The work flow I employ that is intended for press or print. When shooting in RAW which is always the case, I open an image via Bridge in to PS3 which automatically opens in Adobe Camera Raw. As stated (Now this is an alternative method to the one given at “Pentax Life”) I will sharpen the image at 25 to 35 percent in ACR, Luminance Smoothing “0” and Color Noise reduction at “50”. I generally click OK at this stage, (unless I am way off in my exposure, which if I am, I have to seriously re-consider my chosen profession)
When open in PS3 in 16 bits, I create a Duplicate Layer. Now here is where you can go both ways. (sounds a bit suspect) Depending on what I wish to accomplish in terms of saturation, I will either De-Saturate the image or leave it as a color image. The two are radically different in there outcome. Once I have created the Duplicate Layer, I will go in to the Layers Menu “TAB” and click on Normal which will open a large choice of different options. I will “Click” on “Soft Light”. When doing so and dependent on the contrast of the image, you will notice a radical increase in contrast and saturation if you left the original image in color. Generally with my stuff and I say generally as it totally depends on the lighting I have employed, I will set the “Opacity” and “Fill” sliders from 50 to 85 percent each. Once I am satisfied with the result, I will flatten the image, as it is not yet ready for re-touch, this is a pre-retouch manipulation that I do on every image in preparation for the Post Production retouch. Once in PS, I will in many cases use the Shadow Highlight tool at my Default setting being,
Shadows:
Amount 2%
Tonal Width 50%
Radius 30%Highlights:
Amount 2%
Tonal Width 50%
Radius 30%Color Correction +20 Mid-tone 0
It may change dependent on the conditions.
Now, if the “Duplicate Layer” I made used the “De-saturation” process, after I have flattened the layer, I might augment the overall Saturation by 10 to 20 %. If I wish to keep the image with “That” desaturated look I may do nothing. It depends on the effect I am looking for.
If I did not use the “De-saturation” process and left the “Layer” in color, I may “De-saturate’ the overall image by 10 to 20%.
If I do not sharpen in PS, I will do the following for a more “RADICAL” look. After I have imported in to PS from ACR, I will Unsharp Mask (Accentuate) from 120 to 330 percent at 0.3 pixels and I will Unsharp Mask again at 10 to 15% at 40 to 60 pixels to really “POP” the contrast. I will go to “Shadow Highlight” and do the required manipulations to compensate for a loss of shadow detail.
I am now ready for the “Retouch Artist”
When retouch is done and up-sized if necessary, I will sharpen again at 100 to 180 percent at 0.3 pixels.
Here is an addendum to my workflow method followed by the original. Please note that this is NOT carved in stone and can be modified:
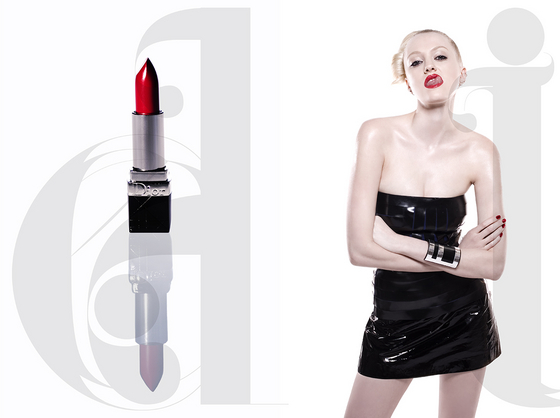
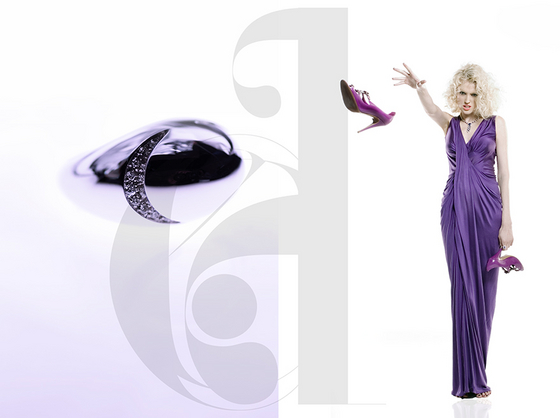
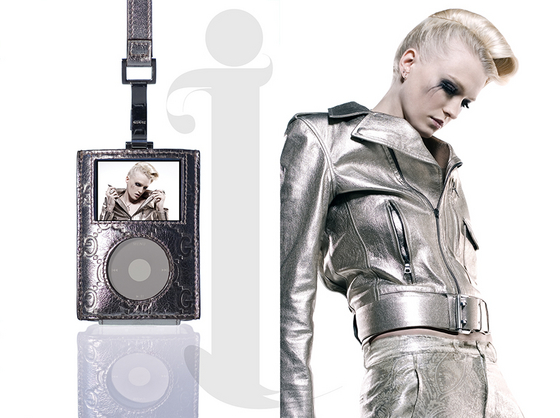
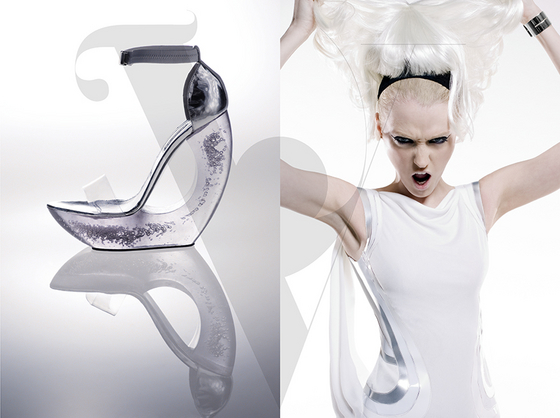
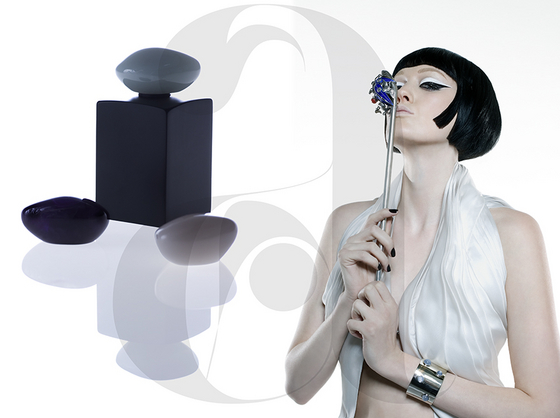
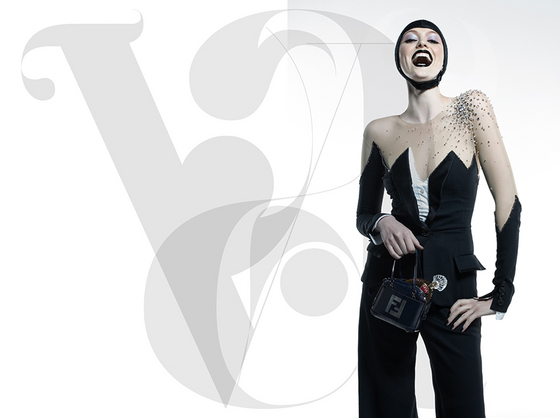
Another approach I use and am doing on the “Diva” story is this…
When the Raw image has been imported in to Camera Raw, I Sharpen at between 25-30 on the slider and 50 on Color Noise Reduction, Luminance Smoothing at Zero. Click OK.
When in Photoshop, go to Layers and make a Duplicate Layer. Now Desaturate the image. Go to the Layers Menu and click on Soft Light. Now, because you didn’t use the Contrast Unsharp move, i.e. 10-15 percent at 40-60 pixels you can push the Opacity and Fill sliders much harder. 60 to 90 percent. When back in PS you can now push up your overall Saturation if so desired by +5 to +10 to compensate in the loss of Saturation produced by adding the B&W layer. I don’t, I like that Desaturated look. It’s a matter of taste..

