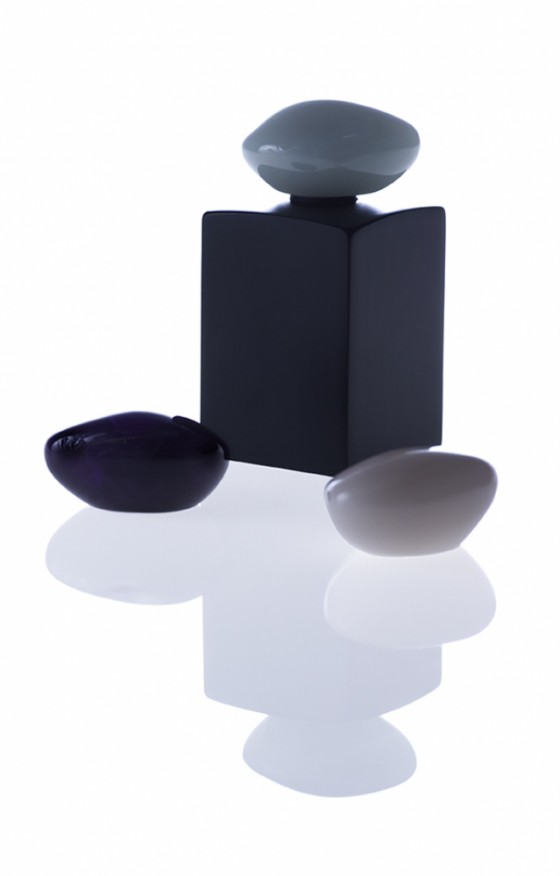
I am posting this set up and lighting tutorial for those wanting to try small object still life photography. This is just one of a multiplicity of ways to do so…
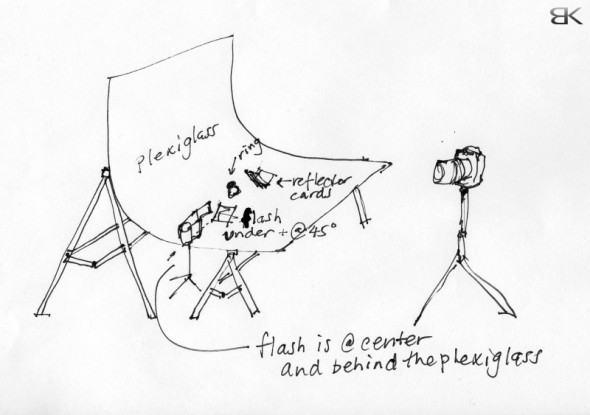
Buy a piece of white Plexiglas. A 1 x 1 yard panel will suffice. Set it up on a couple of work table leg stands, one at least 2 feet taller (higher) as the rear support. It will be a mini cyclo curved surface still life set up. Clamp the Plexiglas to it. Place a flash below and slightly behind the object at around 45 degrees. It should be at least 1.5 – 2′ below the Plexiglas surface. The flash is actually shooting up at you. Now place two small 6″ square white hard cardboard reflectors on either side facing down and perpendicular to the angle of the light below to kick the light back in to it. Make a couple of wire supports so they can lean in to the object. Do not meter the light on the Plexiglas, but the reflected light hitting the ring. You can also use hot lights for this as well. You can move the reflectors around till you get the highlight’s that you like.
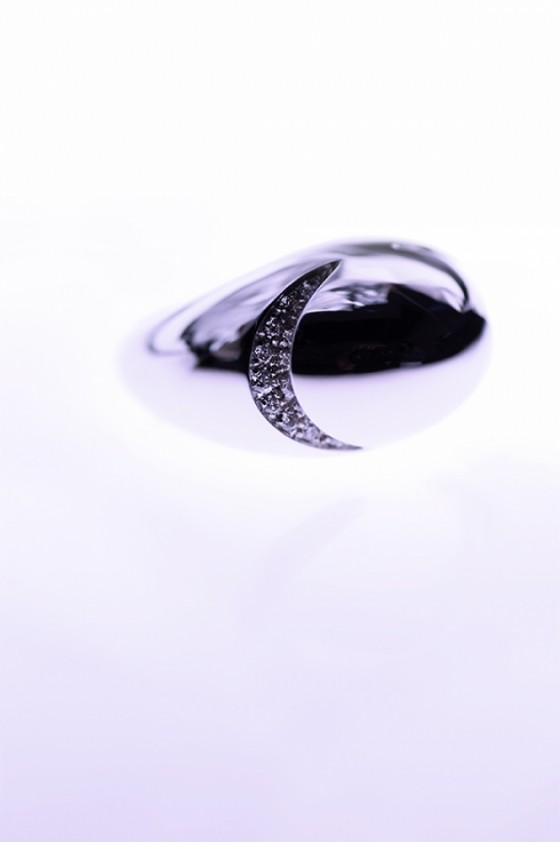
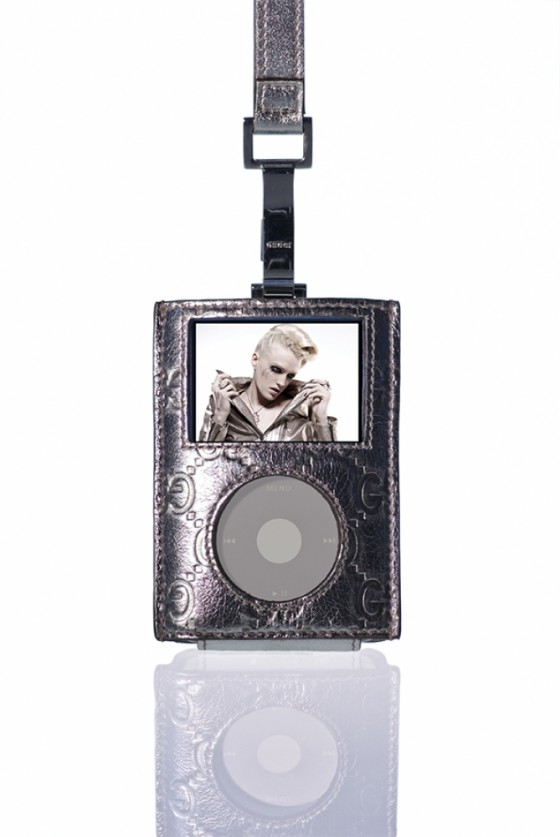
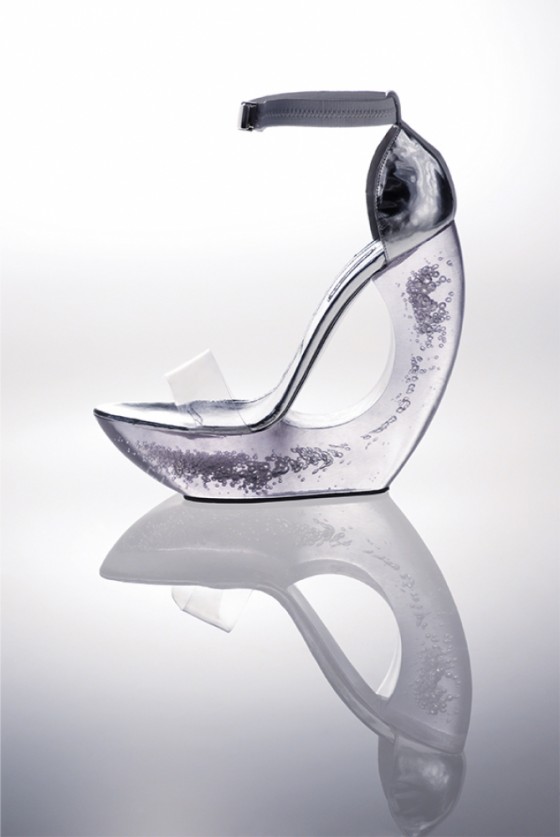
Here are some samples and a set up illustration.

