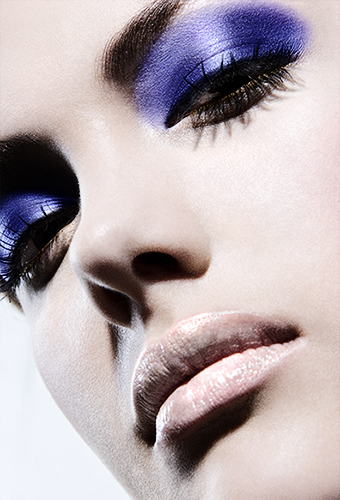
by: Dietmar Kohl
Photographer Dietmar Kohl shares with us his technique for working in 16 bit mode in Photoshop.
Thanks Dietmar, I’m sure this will be very helpful to those wishing to maintain the highest resolution when retouching your images.
Benjamin Kanarek
So here we go…
I just downloaded the RAW images and started to work on them in Photoshop. I prepared the image from the Canon RAW 5.0 file.
I started working on RAW images.
When I open the image in Photoshop I open it in an 8bit mode.
(To switch to 16-bit mode I follow this sequence: image>mode>16bits/channel and then select it.
Now it is set to 16-bit mode. It will display on top of your image (RGB/16).
(If you prepared your image in Canon RAW 5 image then there is little work left to do on the image which is a very good start.)
Also, I prepare my camera so that I get the results/image I want almost without doing any work in photoshop prior to downloading the image.
So the less I work on your image the less qualityloss there is, such as bending of the pixel depixilation discoloration and more.
The best thing to do is working with adjustment layers. It iss a little half circle black and white icon in the the layers/channels/paths area.
I open it by going to windows > LAYERS and click on it.
Then I am ready to use the ADJUSTMENTLAYERS which doesn’t change the pixels but changes the brightness/contrast levels, curves exposure color balance and so on.
It is a wonderful way without harming the original image.
What W miss is the shadow/highlight tool but if I prepare my image already before I start to work on it then I can use it lightly to lighten up the shadows darken the lights lower the contrast between the two.
I can also save the 16-bit image with all the layers in PSD format.
(If you have a more capable computer with higher memory/RAM, it will download it faster otherwise it will take awhile.
I flatten the image by going to LAYER> flatten image.
It makes it easier to download in the 16-bit mode.
A download of the PSD file in 16-bit mode and a JPEG in the smaller size, 8-bit mode the I see what’s in the PSD file and then I can manage to e-mail it.
At the end don’t forget to download/save it in an 8-bit mode or PSD file for printing because that’s what you need to print.
You can also scan your BW color negative slides in 16-bit mode and also 48-bit mode color. Did you know that could be done – Ah, but that is another story !
So try the 16-BIT MODE you will have fun and you’ll see the difference in the prints you make !
Benjamin, I wrote this out of my own experience the way I do it.
I didn’t do it this way for a long time until I found out about by mistake.
Perhaps you find it useful and can use it !
Greetings and a Happy New Year !
Dietmar Kohl

